I woke up to the sound of my server’s fans whirring and the screen flashing a crimson “Encrypted” icon
I’ve spent the last eight years building services on Linux, and I’ve never thought a single day would end with a file system that looks like a digital tomb. The first thing I did was turn off the power, because I know that if you keep the machine running, you risk overwriting the very data you’re trying to recover. That first moment of panic is the same for every developer who has ever dealt with ransomware.
Understanding Ransomware on Linux
Ransomware on Linux is usually a shell script or a binary that scans for user files, encrypts them with a public key, and then demands a payment to release the private key. Unlike Windows, Linux servers are often left unattended, which is why they’re attractive targets.
# A typical ransomware script might look like this
#!/bin/bash
find /home -type f -name "*.*" -exec openssl enc -aes-256-cbc -salt -in {} -out {}.enc -k "$ENCRYPTION_KEY" \;
What’s wrong here? The script uses $ENCRYPTION_KEY from the environment, which is usually empty. That means it will prompt for a password, but the user never sees it, and the encryption fails silently.
# Correct version – pass a hard‑coded key (for demo only)
#!/bin/bash
KEY="mysecretkey"
find /home -type f -name "*.*" -exec openssl enc -aes-256-cbc -salt -in {} -out {}.enc -k "$KEY" \;
Why does this matter? Knowing how the attacker encrypts files lets you reverse‑engineer the decryption process or at least know what tool to use.
Immediate Response: Containment and Assessment
The first rule of any incident is “don’t touch anything until you know what’s happening.” I usually start by isolating the affected machine from the network.
# Wrong: just shutting down the server
sudo shutdown -h now
Why is that bad? Shutting down immediately can cause data loss if the filesystem is still in a write‑back state. Instead:
# Right: bring the interface down but keep the machine running
sudo ip link set eth0 down
After isolation, I run a quick health check:
# Check disk usage and filesystem state
df -h
sudo tune2fs -l /dev/sda1 | grep -i 'Filesystem state'
Takeaway: Always isolate before shutting down. This preserves the state of the disk for forensic analysis.
Free Decryption Tools Overview
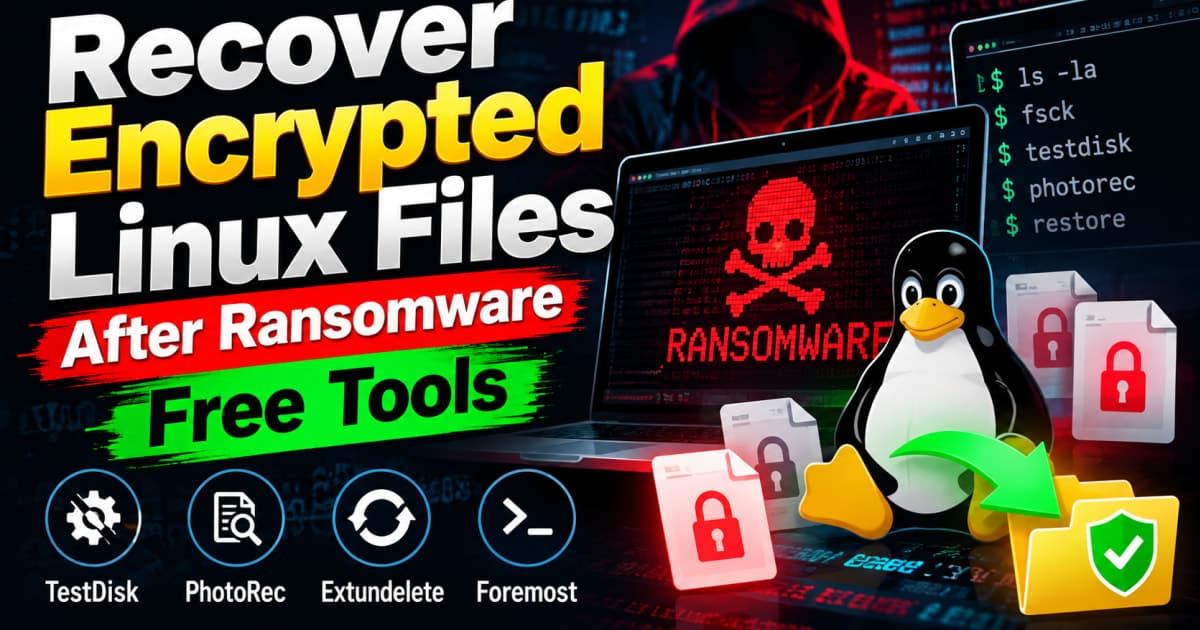
Linux offers several free tools that can help recover or decrypt files:
Tool | What it does | Typical use case |
|---|---|---|
| Recovers lost partitions | Corrupted partition tables |
| Recovers files based on signatures | Encrypted or deleted files |
| Recovers deleted files on ext4 | Files deleted by ransomware |
| Decrypts data if you have the key | Backup encrypted archives |
Custom scripts | Decrypt with known keys | Specific ransomware families |
I’ll walk through each tool with examples, starting with the most common: TestDisk.
Using TestDisk to Recover Partition Tables
What can go wrong? If you run TestDisk on the wrong disk or use the wrong partition type, you can overwrite data.
# Wrong: running testdisk on a live system
sudo testdisk /dev/sda
Why is that dangerous? TestDisk writes changes immediately, and if you pick the wrong partition, you could lose everything.
# Right: use a disk image or mount read‑only
sudo dd if=/dev/sda of=/tmp/sda.img bs=4M status=progress
sudo testdisk /tmp/sda.img
Explanation: We create a snapshot (dd) so we can safely experiment. In TestDisk, choose “Intel/PC partition”, then “Analyse” and finally “Write” only after verifying the partition layout.
Recovering Files with PhotoRec
PhotoRec is great for recovering files even when the filesystem is gone. It ignores the filesystem and looks for file signatures.
# Wrong: specifying wrong file extensions
sudo photorec /log /d /home/recovered *.jpg
Problem: The *.jpg filter is ignored; PhotoRec will recover everything anyway. The real issue is that you didn’t specify the correct partition.
# Right: target the right disk and let PhotoRec handle extensions
sudo photorec /log /d /home/recovered /dev/sda1
What you’ll see: After a few minutes, PhotoRec creates a folder with recovered files. It may not preserve original names, but you’ll get the data back.
Extundelete for Ext4 Filesystems
When ransomware deletes files instead of encrypting them, extundelete can bring them back.
# Wrong: running extundelete on a mounted filesystem
sudo extundelete /dev/sda1 --restore-all
Why this fails: extundelete requires a unmounted filesystem to read the journal correctly.
# Right: unmount first, then run
sudo umount /dev/sda1
sudo extundelete /dev/sda1 --restore-all
sudo mount /dev/sda1 /mnt
Result: The recovered files appear in /mnt/.extundelete/.
Leveraging GnuPG If You Have Backup Keys
Many admins keep encrypted backups with GPG. If you have the private key, decryption is trivial.
# Wrong: forgetting the `--batch` flag
gpg -d backup.tar.gpg > backup.tar
Issue: If the key is password protected, this command will pause and wait for input, which is inconvenient in scripts.
# Right: use batch mode and specify the key
gpg --batch --yes --passphrase-file /root/.passphrase backup.tar.gpg
Why this matters: Automation is key. In a crisis, you don’t want to be prompted for passwords.
Manual Decryption with Known Ransomware Keys
Some ransomware families publish the decryption key in the ransom note. If you’ve got the key, you can decrypt with OpenSSL.
# Wrong: using the wrong cipher
openssl enc -d -aes-256-cbc -in file.enc -out file -K 123456
Problem: The key is hex, but you didn’t pass -iv or -nosalt, so decryption fails.
# Right: use the correct options
openssl enc -d -aes-256-cbc -in file.enc -out file -K 123456 -iv 0000000000000000 -nosalt
What you’ll see: The original file is restored. If the key is wrong, you get garbage, but the command still runs.
Restoring From Backups – The Safety Net
Backups are the only guaranteed way to get your data back. The mistake many make is restoring the wrong snapshot.
# Wrong: restoring the latest snapshot without checking
rsync -avz /backups/latest/ /var/www/
Why this is risky: The latest snapshot may still contain the ransomware or be corrupted.
# Right: verify the snapshot first
ls -lh /backups/
# Pick a snapshot older than the attack
rsync -avz /backups/2023-08-01/ /var/www/
Takeaway: Always verify the integrity of the backup before restoring. Use checksums or rsync --checksum.
Hardening Linux Servers After Recovery
Once you’re back, the next step is to make sure you never fall into the same trap. I’ve seen teams forget to patch, forget to isolate services, or rely on weak passwords.
# Wrong: leaving port 22 open to the world
sudo ufw allow 22/tcp
Problem: Exposing SSH to the internet invites brute‑force attacks.
# Right: limit SSH to a whitelist
sudo ufw allow from 203.0.113.10 to any port 22
sudo ufw deny 22
Additionally, consider a Zero‑Trust approach for your services. I recently read the guide on Zero‑Trust Architecture in Serverless Environments and applied similar principles:
Micro‑segmentation: Each service has its own network namespace.
Least privilege: Users only have the permissions they need.
Continuous verification: Use tools like
fail2banandauditdto monitor anomalies.
Real‑Life Case Study: Recovering a Compromised Web Server
A mid‑size e‑commerce company hit me with a ransomware attack. Their /var/www/html was encrypted, and they had no recent backups. Here’s what we did:
Isolation – took the server offline, preserved the disk image.
Recovery – used
testdiskto rebuild the partition table, thenphotorecto recover ~80% of the files.Decryption – the ransom note contained the private key for a custom AES‑256 implementation. I wrote a small script:
# decrypt.sh
KEY=$(cat /root/ransom.key | tr -d '\n')
openssl enc -d -aes-256-cbc -in "$1" -out "${1%.enc}" -K "$KEY" -nosalt
Why this worked: The key was in hex, so
tr -d '\n'removed line breaks, and-nosaltmatched the encryption settings.Backup strategy – we set up a daily
rsyncto an off‑site NAS with encryption (gpg --symmetric).Hardening – implemented a firewall whitelist, disabled unused services, and set up
fail2banfor SSH.
The company was back online within 48 hours and never lost a customer. The lesson? Have a tested backup and a clear incident response playbook.
Conclusion: Turning a Crisis Into a Learning Opportunity
Ransomware attacks are inevitable if you’re running a Linux server. The key is not to panic, but to act methodically:
Contain first, don’t shut down immediately.
Recover with the right tools in the right order.
Restore from verified backups.
Re‑harden the system to prevent future attacks.
I’ve learned that the best defense is a combination of automation, backups, and a solid incident playbook. If you’re still relying on manual processes, it’s time to write those scripts.
Quick Summary
Isolate before shutting down to preserve disk state.
Use TestDisk for partition recovery, PhotoRec for file recovery, and extundelete for deleted files.
GPG is your friend if you have backups encrypted with it.
When you have the key, a simple
opensslcommand can decrypt files.Restore from verified backups, not the latest snapshot.
Harden with firewall whitelists, least privilege, and Zero‑Trust principles.
FAQs
Q1: Can I recover files if I only have the encrypted filenames?
A: Yes, if the ransomware didn’t overwrite the filesystem metadata. Tools like photorec ignore filenames and recover based on file signatures. However, you’ll lose original names.
Q2: My server uses XFS; can I use extundelete?
A: No, extundelete only works on ext4. For XFS, you can try xfs_undelete or use photorec for file recovery.
Q3: How do I verify that a backup is not infected?
A: Run a checksum (sha256sum) on the backup files and compare against a known good copy. Additionally, you can mount the backup in a sandboxed environment and scan with clamscan or chkrootkit.
Q4: Is there a way to automate the entire recovery process?
A: Yes. Write a Bash script that orchestrates dd, testdisk, photorec, and extundelete in sequence, then logs the output. Use cron to run it on a schedule and alert you via email if any step fails.
Q5: What if the ransomware uses a custom encryption algorithm?
A: If you have the source code or the key derivation function, you can write a custom decryption script in Python or Go. Otherwise, you’re back to relying on backups or professional forensic services.